Inyo360 — Identity Verification (KYC)
The Identity Verification API is part of the Inyo360 compliance suite — a new identity-verification technology built in-house by Inyo. It combines machine learning and agentic AI with advanced computer vision to perform robust KYC verification, rather than relying on a third-party vendor.
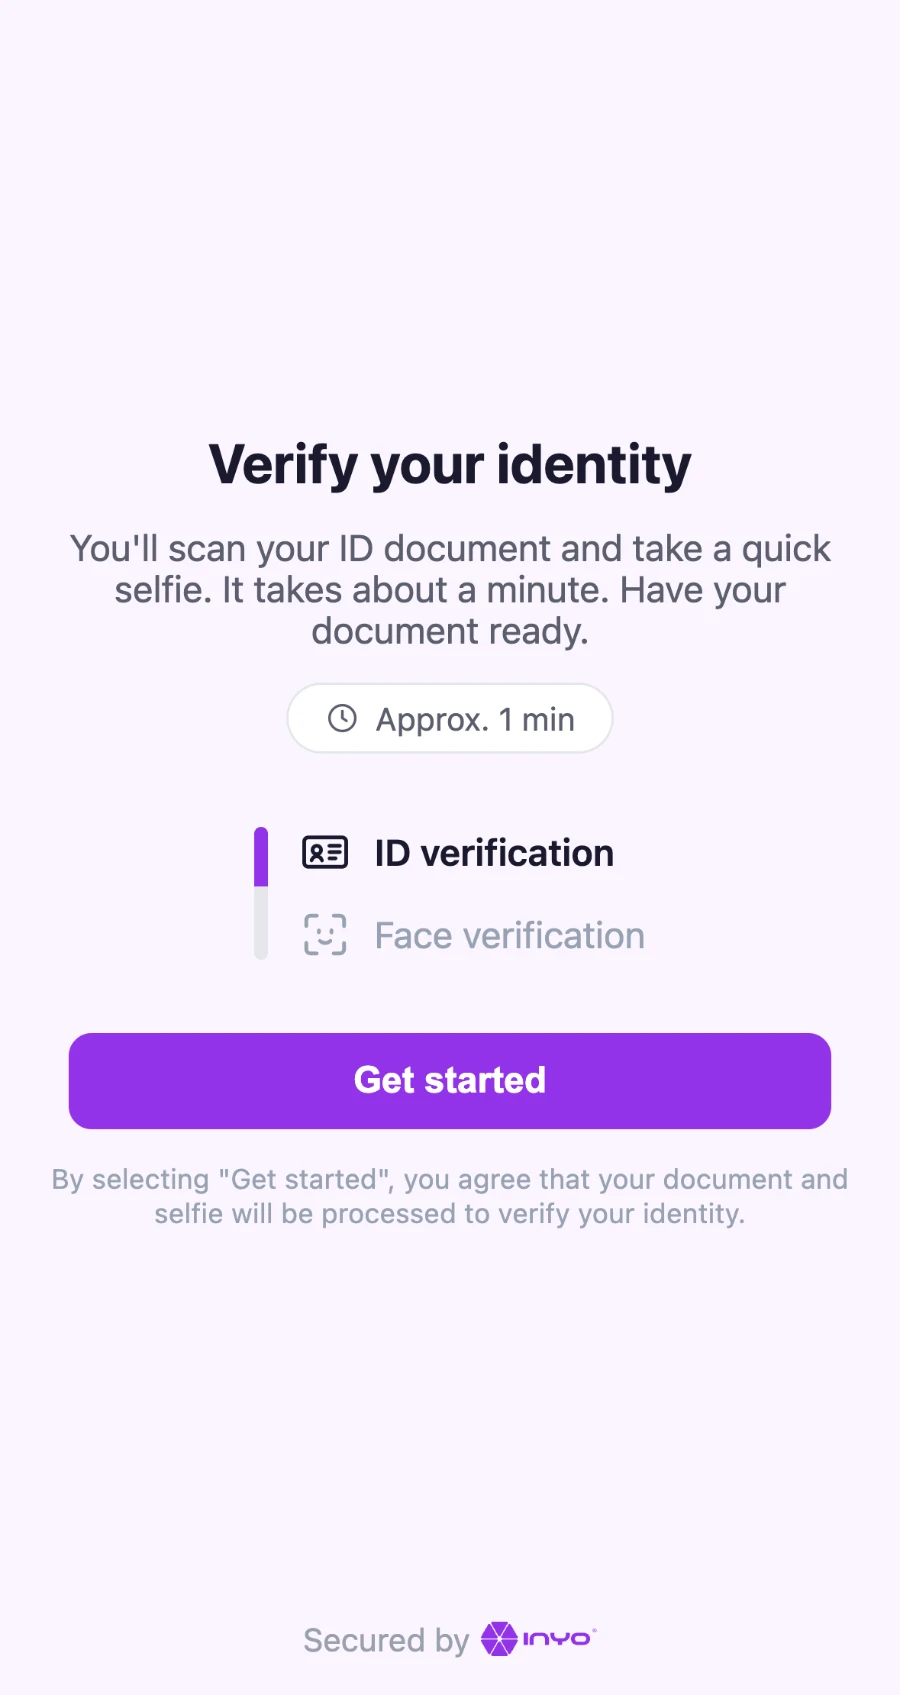
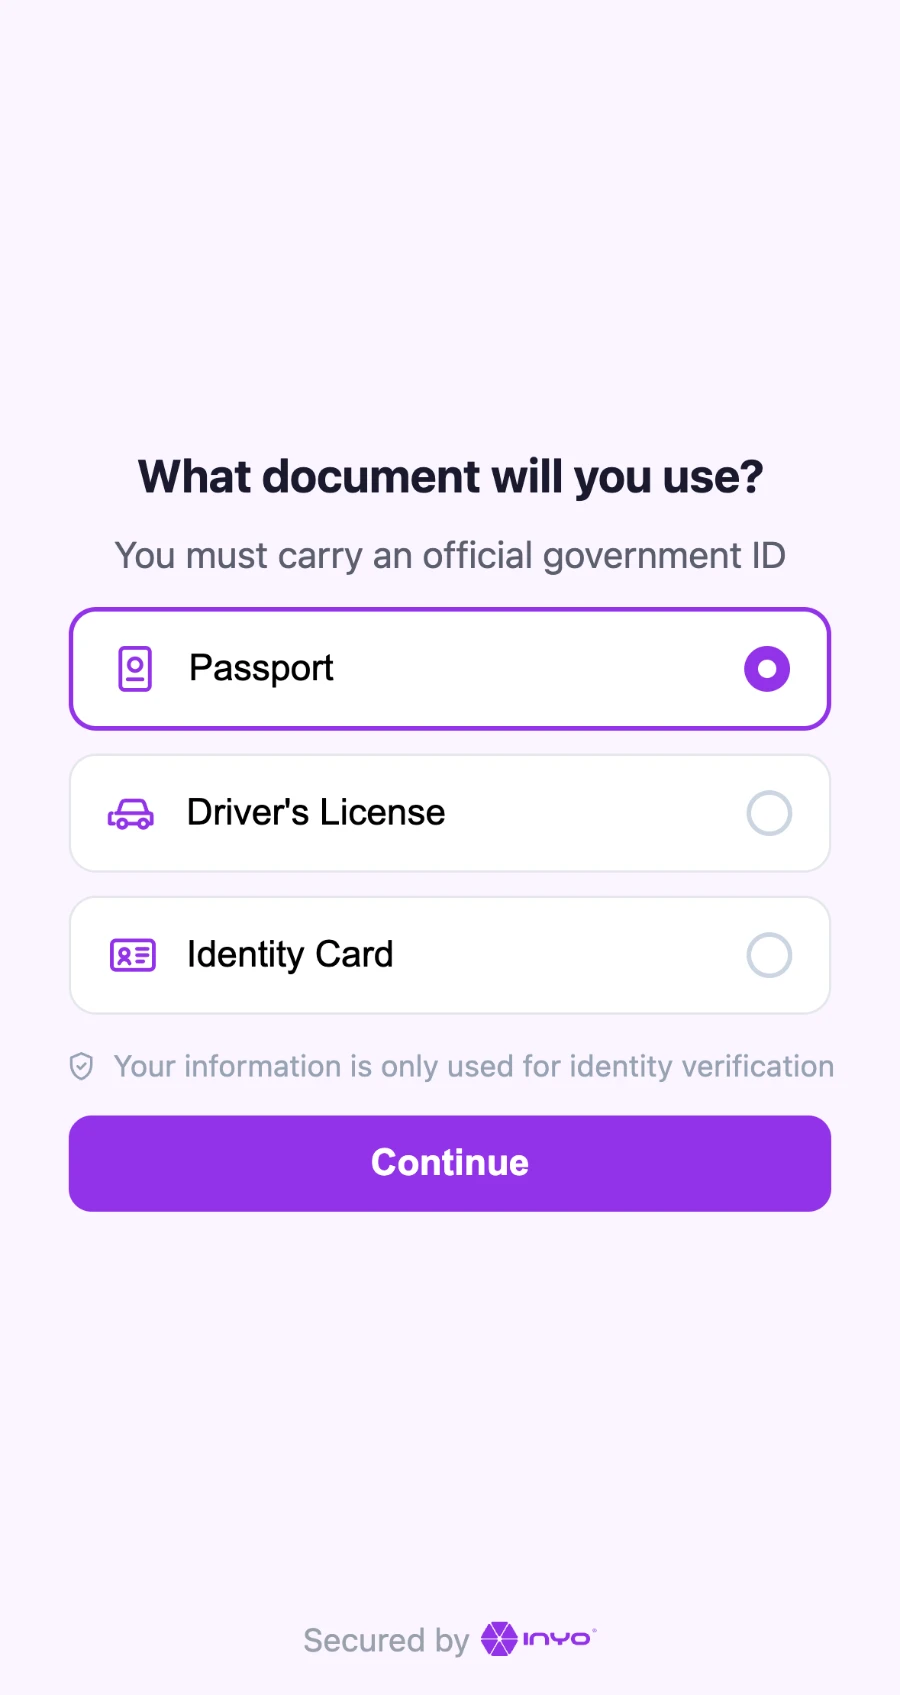
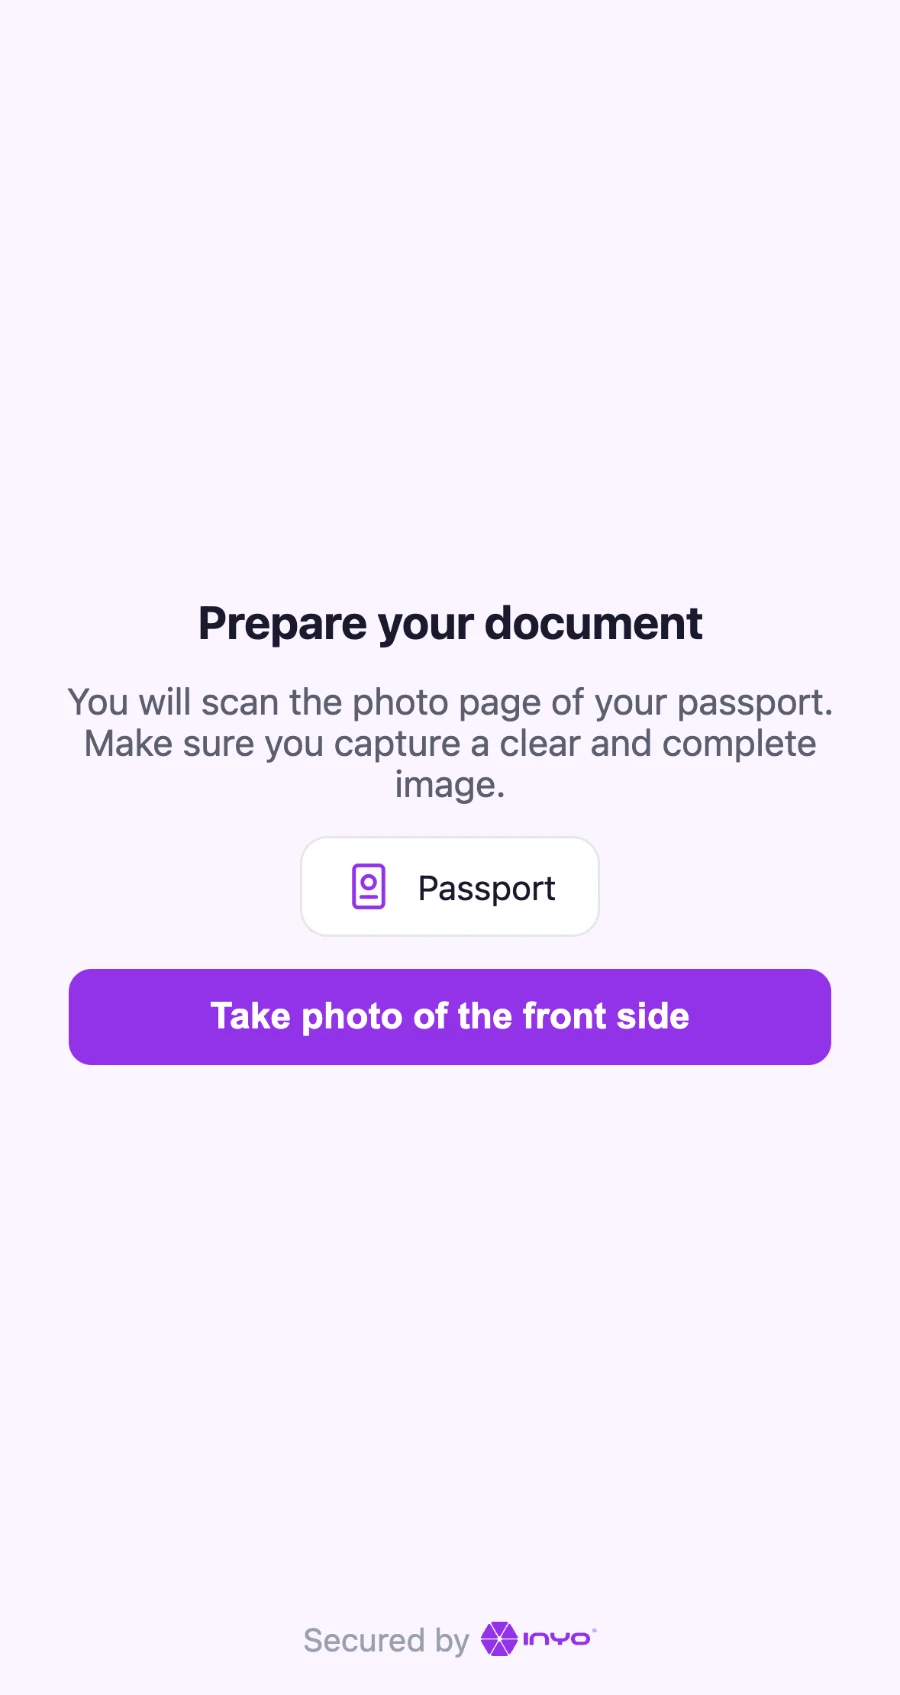
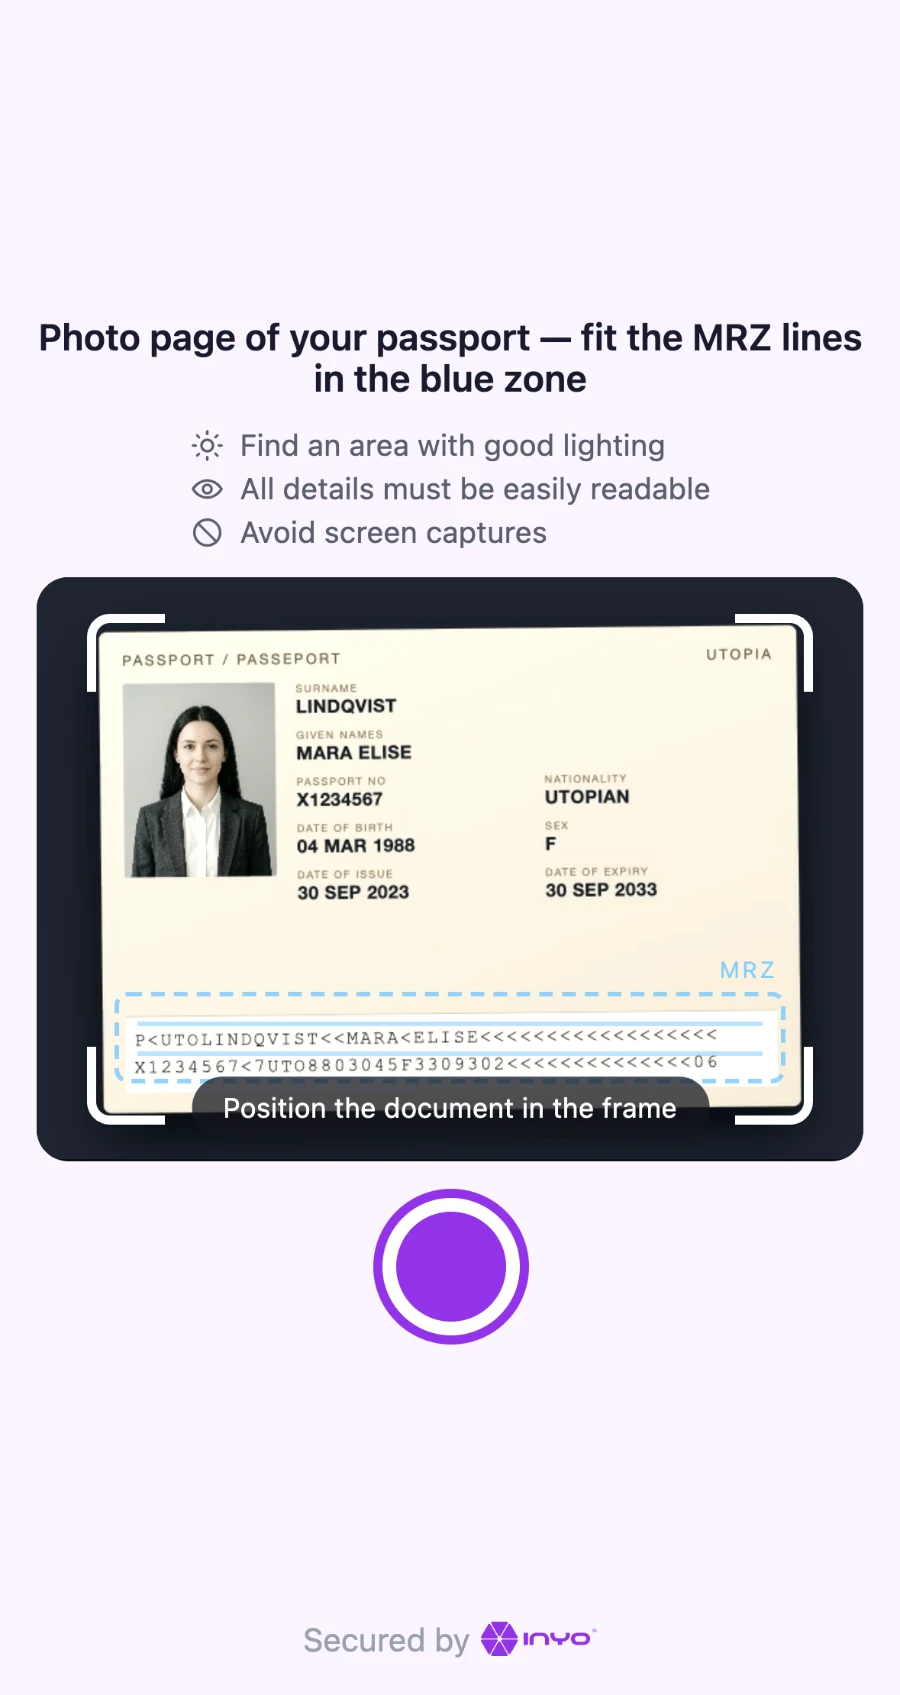
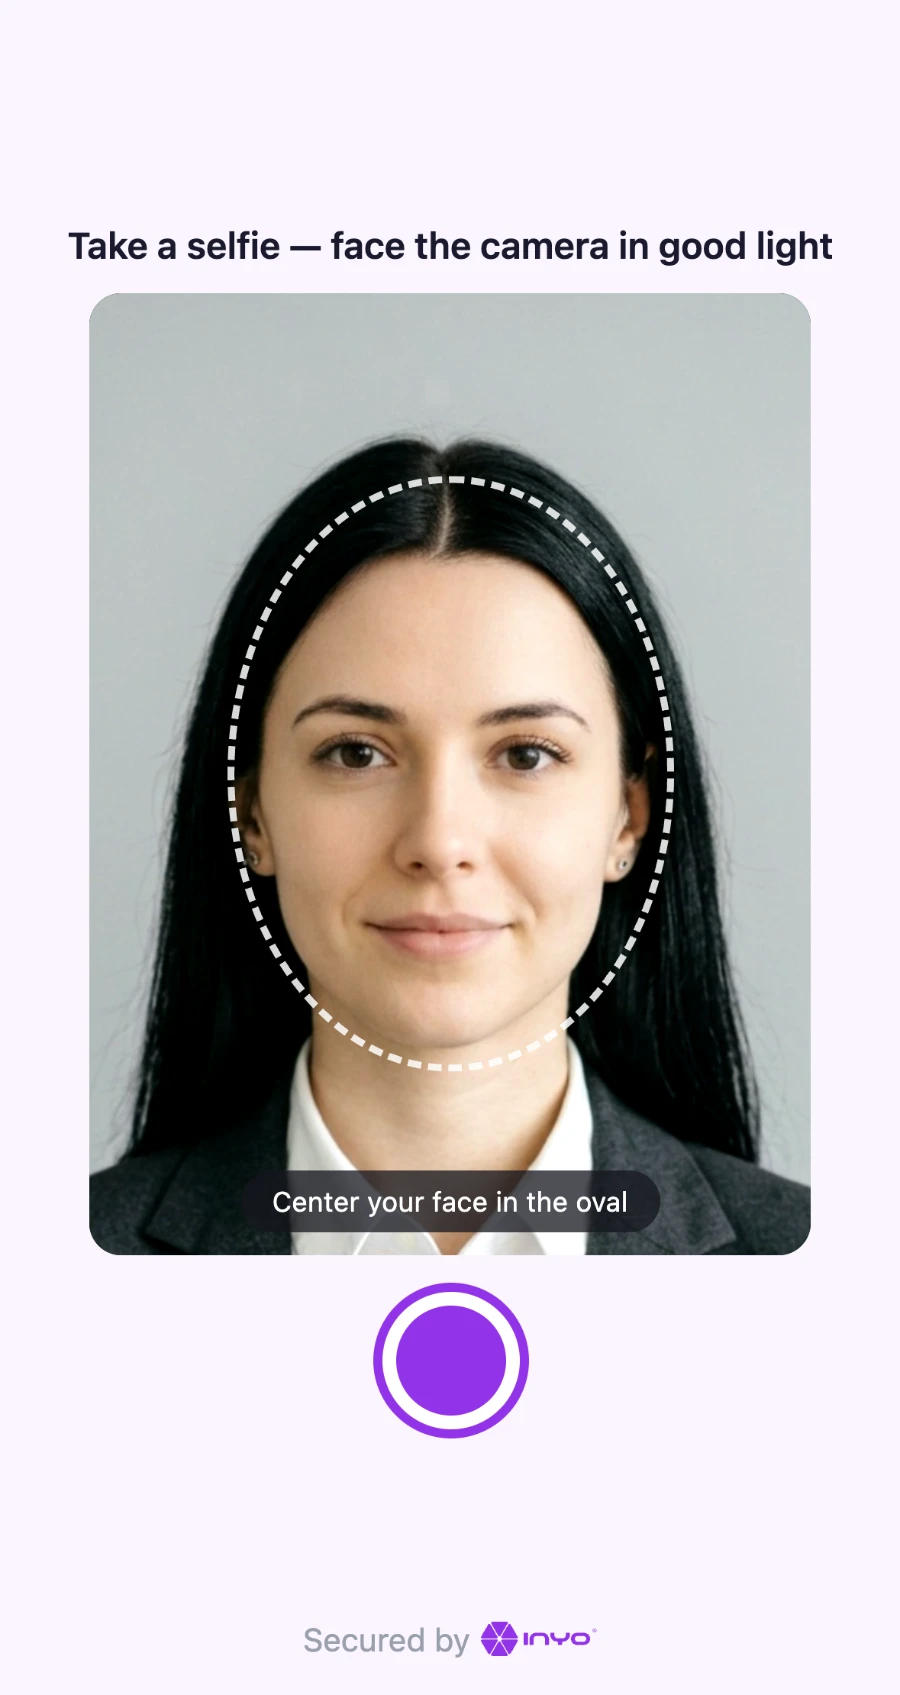
The customer photographs a government-issued document — passport, driver's license, or identity card — and takes a selfie. Inyo extracts the document data, validates it, checks that the document is authentic and unexpired, confirms the selfie is a live person, and matches that person against the document portrait. Agentic AI orchestrates these checks and adjudicates borderline cases, and you receive one normalized result.
What that result concludes depends on your decisioning mode. Under non-managed decisioning — the default — Inyo publishes the assessment and you decide. Under managed decisioning Inyo also reaches a verdict, delivered as decision: approved, declined, inconclusive, or in_review while a person looks at it.
How It Works
sequenceDiagram
    autonumber
    participant Y as Your System
    participant I as Inyo
    participant C as Customer
    Y->>I: POST /v1/sessions
    I-->>Y: sessionId +<br/>widgetUrl
    Y->>C: deliver widgetUrl
    C->>I: document<br/>front / back
    C->>I: selfie + liveness
    Note over I: Run verification<br/>checks
    I-->>Y: signed webhook<br/>or redirect
    Y->>I: GET /v1/sessions/{id}
    I-->>Y: assessment,<br/>and a decision<br/>if managed
    Y->>C: show outcome
Two Ways to Integrate
Choose one per verification — both produce the same normalized result and honor the same configuration.
| Mode | How it works | Choose this when |
|---|---|---|
| Hosted widget | You create a session and receive a widgetUrl. Send it to your customer or open it in a webview. Inyo handles camera capture, framing guidance, retries, and localization. | You want the fastest integration and no camera code of your own. This is the recommended default. |
| Server-to-server | You capture the images yourself and post them to POST /v1/verifications. The call is accepted immediately; the outcome arrives by webhook or is read back. | You already have a capture UI, or verification happens without a live customer (for example, re-verifying stored documents). |
Integration Steps
| Step | Action | Endpoint | Description |
|---|---|---|---|
| 1 | Authenticate | POST /oauth/token | Exchange your client credentials for a Bearer token |
| 2 | Create a session | POST /v1/sessions | Returns a sessionId and a widgetUrl |
| 3 | Deliver the widget | — | Send the link, or open it in a webview |
| 4 | Receive the result | your webhookUrl | A signed POST of the verification result |
| 5 | Read the result | — | Interpret status, checks[], trustIndex, and decision if you have it |
| 6 | Confirm server-side | GET /v1/sessions/{sessionId} | The authoritative record for a single widget session. A server-to-server verification is read at GET /v1/verifications/{verificationId} |
Skipping the widget? Replace steps 2-4 with a server-to-server verification, and read step 6 at GET /v1/verifications/{verificationId}.
What You Receive
Every verification resolves to one normalized result containing the extracted document and person data, the individual checks, and — under managed decisioning — the decision:
{
  "sessionId": "…",
  "userRef": "user-123",
  "status": "completed",
  "decision": "approved",
  "document": { "type": "passport", "number": "…", "expirationDate": "2033-09-30" },
  "person": { "firstName": "…", "lastName": "…", "dateOfBirth": "1988-03-04" },
  "checks": [
    { "name": "document_not_expired", "status": "passed", "group": "document", "severity": "critical", "detail": "…" },
    { "name": "face_match", "status": "passed", "group": "selfie", "severity": "high", "detail": "similarity vs threshold 90.0" }
  ],
  "provider": "inyo",
  "trustIndex": 100
}
The full payload and the rules for reading it are on Checks & Decisions.
Architecture Pattern
Your OAuth credentials are server-side only. Create sessions from your backend and hand the customer only the returned widgetUrl — it carries a single-use, time-limited code and grants access to nothing but that one verification.
flowchart TB
    subgraph browser["Customer's device"]
        C["Browser /<br/>webview"]
    end
    subgraph yours["Your infrastructure"]
        S["Your server<br/>holds OAuth credentials"]
    end
    subgraph inyo["Inyo"]
        W["Hosted widget"]
        A["Tenant API"]
    end
    S -->|"POST /v1/sessions<br/>Bearer token"| A
    A -->|"widgetUrl"| S
    S -->|"widgetUrl only"| C
    C -->|"document + selfie"| W
    W --> A
    A -->|"signed result"| S
Environments
| Resource | URL |
|---|---|
| Tenant API (sandbox) | https://{FQDN} |
| Tenant API (production) | https://{FQDN} |
| Widget host | https://{FQDN} |
Base URLs, OAuth client credentials, and IP allowlisting are issued by Inyo during onboarding. Sandbox and production credentials are not interchangeable.
Next Steps
| Page | What it covers |
|---|---|
| Getting Started | Run one verification end to end |
| Authentication | Tokens, scopes, and error handling |
| Verification Sessions | Every field on POST /v1/sessions |
| Receiving Results | Signature verification and delivery modes |
| Manual Review | Handling an in_review decision correctly |
| Sandbox & Test Data | Testing before you go live |